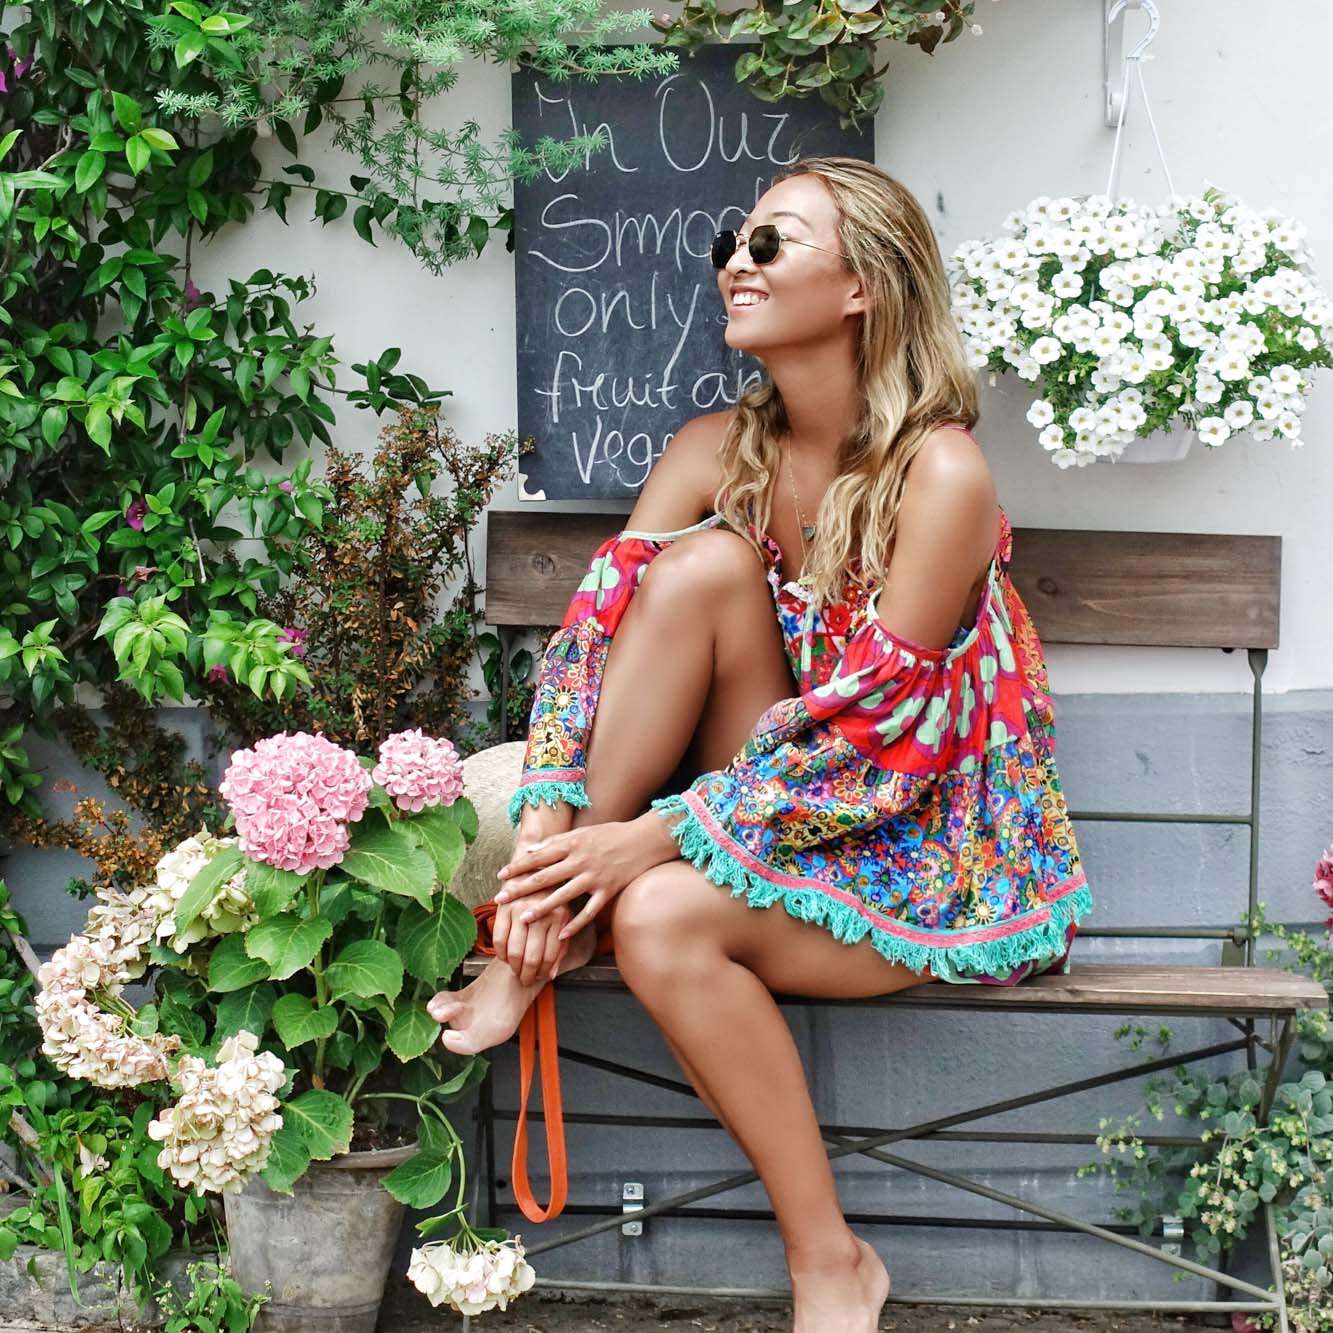
This might be a slight (ok, maybe overt) humble brag but I’ve always loved receiving the feedback from others that they love my photos and the way I’ve curated my images. As someone who hasn’t had any formal training – unless you count hours of YouTube tutorials and reviews – I’ve come a long way from when I purchased my first professional camera and not knowing the difference between a full frame and half frame camera.
Everything I have done to this day, whether it be learning how to adjust settings, framing a photo or even just editing the image has been self-taught and through trial and error. There are a number of factors that contribute to a “good” photo:
- Type of camera being used
- Time of day the image is being shot
- Position of the sun
- The backdrop being used for the photo
- Framing of the subject in relation to the backdrop
One of the most important things that I’ve found that helped me learn was to experiment with the composition of shots. You don’t really need to follow the traditional rules of photography that professionals preach, like the rule of thirds, because I can tell you now, that rule never comes to mind when I take my photos.
I made the switch almost eight months ago to Sony and haven’t looked back – and there is a key reason why I love the camera so much. The Sony RX100 V is not only small but has an incredible autofocus speed of 0.05 seconds, which means that taking burst shots is great when you want to have options. There are three continuous shooting speeds that you can play around with on the camera.
Many professional photographers would probably discourage taking hundreds of similar shots but I’ve always been of the opinion that I would rather have too many options to choose from than too few. The resolution of the images means that you can also crop photos later if the framing wasn’t quite right in your initial shot. I’m going to share with you my 5 tips for photo composition that I generally follow and see how you go with capturing your travel and instal-worthy content.
5 Tips for Photo Composition

#1: Simple Always Works
When you want a shot that creates a reaction/impact then the best way to achieve this is to have a de-cluttered background. You won’t always be able to keep other objects out of the shot but you might be able to make them part of the story in the background.
Tip: – You don’t need to move in close to your subject to cut unwanted objects out of the shot, simply crop the shot in post-production. The 20.1 megapixel resolution of the Sony RX100 V has meant that we can take shots at longer distances and then crop in as required afterwards without losing image quality.
#2: Get Creative with Colours
You don’t necessarily need strong contrasting colours to create an amazing shot. When you have many competing colours in the one shot then shooting them in the same hue will tie everything together. Framing is also important when you need to control which colours appear in your image. For example, this shot of me in Positano could have included the blue waters but we chose to eliminate the cool blue from the colour palette because of the warmth that permeates throughout the shot.

Tip: There are various creative styles – or presets that can be used in the Sony RX100 V to change the overall vibe of your images. Choose between vivid, neutral, clear, deep, light, portrait, landscape, sunset, night, autumn leaves, black and white, sepia and standard.
#3: Use Lines to Lead You 
You can use lines in your backdrop to guide others to what you’re trying to shoot; converging lines will give a sense of perspective and depth to the image. You can use almost anything for lines including walls, fences, and roads or in my case, rows of sun chairs and umbrellas.
Tip: Ensure that your image is balanced by using the built-in level monitor because there’s nothing worse than lopsided images – unless purposefully done.
#4: Fill your Frame
This is something you’ll find frequently when you travel, but a large-scale scene can be hard to capture when you have someone to frame into the shot as well. If you don’t do it right then you could look like a speck against the backdrop, but by zooming and filling the entire frame you can fix this. Alternatively in the shot above on Positano beach, by simply moving closer to me we’ve created an impactful shot that’s made me (the subject) larger against the backdrop.
 #5: Sidestep the Conventional Subject in the Middle Shot
Dropping your subject smack in the middle of a shot is just boring and produces incredibly static images when you have no other defining elements to the shot like leading lines. Try moving yourself away from the center and balance out the rest of the image with something you’re trying to capture in the scene.
The most important thing to take away from this is that practice makes perfect – I’ve had almost three years of just experimenting and I’m still finding new ways to shoot my images.
If you have any tips to share then please drop them in the comments below! Check out Colours of Hong Kong and Colours of Marrakech posts too for other tips and tricks!

This post has been created in collaboration with Sony Australia. Images captured with the Sony RX100 V.