As a blogger or business owner, you’ll find yourself inevitably at one stage trying to compose the perfect flatlay image. Flatlays are what I call organised chaos and are always carefully constructed (no matter how much we try to make them look as though we found it in our room this way) with an natural story and purpose. Finding your flatlay style is quite easy because as soon as you find yourself arranging objects – you’ll know instantly if you’re an organised grid flatlayer or a messy haphazard one.

Flatlays are perfect for when you want to showcase your everyday beauty essentials, what to pack for your next beach getaway or the classic – what’s in my bag picture. When I first started dabbling on Instagram a few years ago I had no idea what I was doing and over time I’ve seen my flatlays evolve and my style composition change based on what came naturally to me.

Here’s an example of a flatlay I posted back in 2015 and one from 2017, see the difference? Mind you, it isn’t just your ability to arrange random objects artfully and arbitrarily that evolves but your photography and editing skills too. I’ve decided to go back and pull together everything that I have learnt along the way to bring you this piece on my top tips for creating the perfect flatlay.
Top Tips for Creating the Perfect Flatlay
Use a Clean Background
 This one seems pretty basic but if you get yourself a clean white, black or grey background then you can’t go wrong. This is basically the canvas to your masterpiece and you don’t want that to distract people from the actual artwork.
This can be done on a table, on the floor (though it’s rare to find clean white floors these days), marble coffee tables, wooden floors or even on your bed. I started out doing these on the bed on a white sheet but you’ll find that this gets annoying after a while when the uneven surface starts to make your round objects roll all over the joint.
I’ll be doing a DIY piece on how to create your perfect flatlay background base if you don’t have something you’re happy with at home. So stay tuned!
Always Use Natural Light
This one is an important one because everything looks better when it’s been shot in natural light. You may want to set yourself up next to a big window but be sure that there isn’t direct sun shining on your masterpiece because that creates annoying shadows. Middle of the day is never advised either and this goes for all photography so try early in the morning or late afternoon.

Have a Go-To Box of Props
These are great for making your images pop or to fill an awkward space in your masterpiece. I have a few of these usually sitting around the room but these can include textured fabrics, blankets, ribbons, lace, flowers (fake or real), confetti, wall prints, inspirational quote cards, magazines and the list goes on! If you don’t want to buy fresh flowers then I suggest finding some good quality artificial alternatives and have them handy too! Jewellery is also another one to have as fillers when you have awkward empty spaces – just throw in a few rings and earrings and you’re all set!
Shoot From Above
This is usually standard but sometimes you may want to switch it up and go in slightly lower and from an angle. It would be useful to have your flatlay on the floor; that way you can stand on a chair easily to shoot your image. If you have your perfect flatlay up on a table or bench then you’ll need to get on something higher in order to get that perfect bird’s eye view.
Use Blu Tack
Have you found yourself mentally cursing and willing a lipstick or round mascara to stay put but find that it immediately rolls away from the slightest movement? Well the saviour to this problem is blu tack! I found myself flatlaying for almost a year before I thought to get blu tack into the equation and believe me, there were a lot of frustrating flatlay moments sans sticky blue rubber.

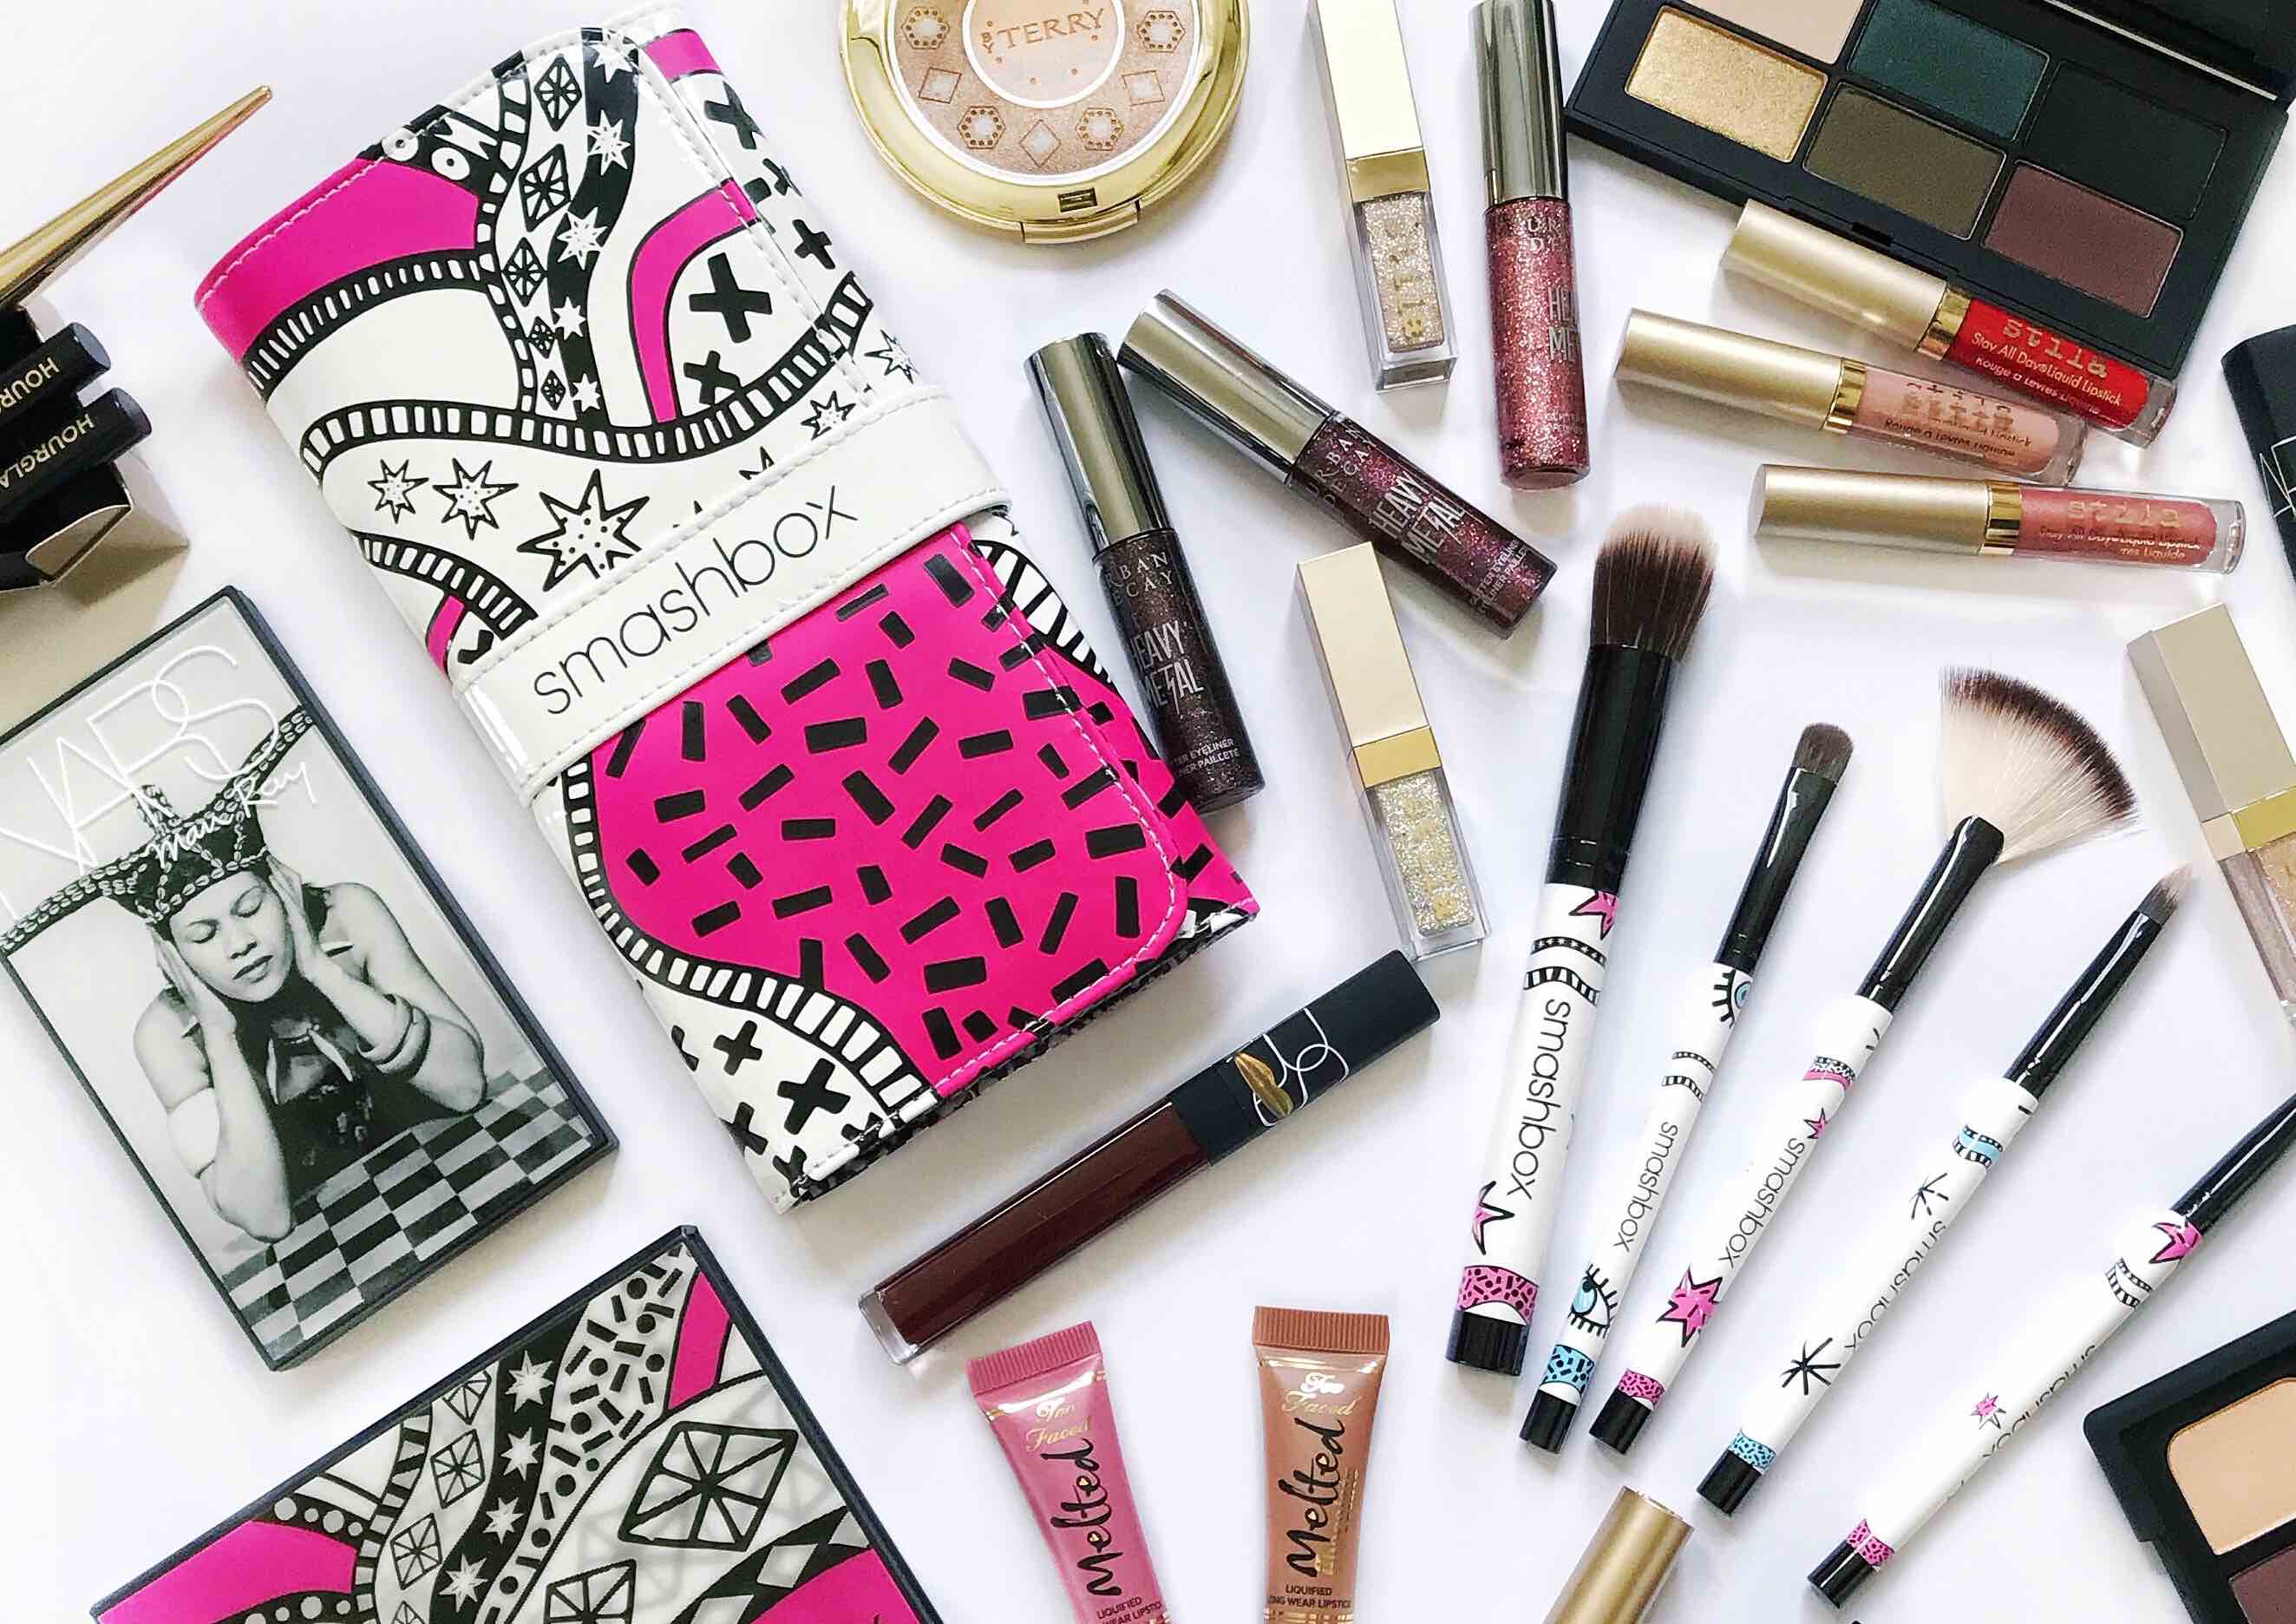
Pick a Theme/Colour Palette
Imagine if I had a flatlay that contained sneakers, a baby outfit, a bottle of scotch, a Chanel bag and a camera. What story am I trying to tell here? A Saturday night spent drowning my sorrows with scotch from a screaming baby. Whilst documenting my woes in comfy kicks for a speedy but stylish getaway when it all gets too much? Oh and don’t forget the designer bag. Random right? Of course this may very well be the story you’re telling and quite possibly what lots of mums think about doing. Ha!
Picking a theme is important and this could be travel, fashion, beauty or lifestyle related. Just make sure each item belongs in there. Also take note of the colour palette that you’re using because nothing ruins the flatlay more then when you have colours clashing (in a horrible way) with each other. Neon pink and burgundy? Just – no.
Camera vs Phone
I’ve always used a mixture of both and these days the cameras on your smartphone are more than enough to take a flatlay shot – especially if it’s going to be used on the gram. If the lighting conditions are good then you’ll find the smartphones are enough but in tricky light situations then a proper camera may be the better alternative.

If you need the image for other things like a blog post where you may have it displaying larger than the tiny Instagram box then you might want to switch to a camera. Shooting on the phone also means that you can do quick edits on your trusty phone apps to see if your composition works or not. Use whatever is easiest for you and you’ll find a way to make it work in your favour.
Compose your Shot
Depending on how much you want to include in your flatlay, try and consider symmetry and mixing smaller items with larger, focus pieces to create a balance. You may also want to leave adequate space between each item to prevent the messy look but then again, you may enjoy the chaotic look and in that case – make sure the clutter is balanced. On the flipside you may also want to make use of the negative space in your canvas to create a clean look.
Use Editing Apps to Fine Tune
I love using Snapseed to control the exposure on certain areas of the flatlay that may appear too dark with the brush tool. You’ll also be able to enhance the colour and contrast too within these apps and add depth through the structure function.
Practice Makes Perfect
I don’t think any of your favourite flatlay instagrammers woke up knowing exactly how to create the perfect flatlay. They would’ve all developed their own style and fine tuned their techniques over time. So don’t be discouraged if your first flatlay isn’t exactly the same perfection as the classic Margaret Zhang flatlay because I know that girl would’ve taken her time to refine her masterpiece and so should you!
Have you got any other tips that I’m missing to create the perfect flatlay?!
If you’d like to know how I edit my photos then check out my post here or if you want to know what applications I use then check out this post here.
